

Thinking about expanding your M4 Mac Mini’s storage? You’re not alone. As digital workflows become more demanding, having additional space is essential for maintaining performance, speed, and peace of mind.
While Apple’s M4 Mac Mini (2024) offers impressive processing power, its internal storage isn’t easy—or advisable—to upgrade. Fortunately, there’s a simple and powerful solution: using a high-speed external SSD.
In this guide, we’ll walk you through the safest and most effective way to boost your Mac Mini’s storage without risking your warranty or diving into risky hardware modifications.
⚠️ Can You Upgrade the Internal SSD?
Technically yes!
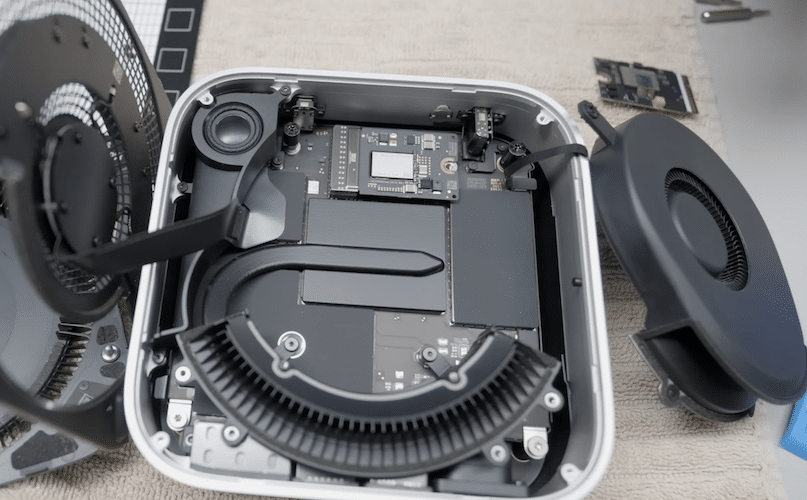
Apple’s M4 Mac Mini uses modular SSDs, which means they’re not soldered to the motherboard like earlier models. However, several major issues make internal upgrades a challenge:
-
Apple’s SSD modules are proprietary and not available for purchase separately.
-
Replacing the SSD requires opening the device, likely voiding your warranty.
-
After installation, you’ll need to use Apple Configurator to re-pair the system, a process designed for Apple technicians.
🔧 Bottom line: Internal SSD upgrades are complex, risky, and unsupported by Apple. For nearly all users, an external SSD is the smarter move.
🔧 What You’ll Need
To expand your storage with an external SSD, you’ll need:
-
M4 Mac Mini (2024)
-
External SSD (preferably NVMe for high-speed performance)
-
Thunderbolt 3/4 or USB4 enclosure (if using a bare NVMe drive)
-
USB-C cable (usually included)
-
Disk Utility (built into macOS)
🚀 Step-by-Step: Set Up an External SSD on Your Mac Mini
1. Choose a High-Performance SSD
For top-tier performance, select an NVMe SSD such as:
-
Samsung 980 Pro
-
WD Black SN850X
Pair it with a Thunderbolt 3/4 or USB4 enclosure to achieve speeds close to internal storage.
💡 Want a plug-and-play option? Go for the Samsung T7 Shield or SanDisk Extreme Portable SSD.
2. Connect the SSD to Your Mac Mini
Use a USB-C or Thunderbolt port to plug in your SSD. macOS should recognize the device automatically. If it doesn’t, proceed to the next step.
3. Format the SSD (if required)
Open Disk Utility (Applications > Utilities), then:
-
Select the external drive from the sidebar.
-
Click Erase and apply these settings:
-
Name: Your choice
-
Format: APFS (for macOS) or ExFAT (for use with Windows too)
-
Scheme: GUID Partition Map
-
-
Click Erase to format the drive.
4. Put Your New Storage to Work
You can now:
-
Move large files off your internal drive
-
Run applications directly from the external SSD
-
Set up Time Machine backups
-
Even create a bootable macOS install drive if needed
🛡️ Pro Tips & Best Practices
-
Use Thunderbolt 3/4 for the fastest speeds.
-
Always eject your SSD properly to avoid data loss.
-
Back up regularly, especially for work or client files.
-
Keep firmware updated—check your SSD and enclosure manufacturer’s support pages.
💭 Final Thoughts
Upgrading the internal SSD in your M4 Mac Mini may be technically possible, but Apple’s restrictions and technical requirements make it impractical for most. By contrast, adding an external SSD is fast, safe, and flexible—ideal for anyone who needs more storage without the risk or hassle.
Whether you’re a creative professional, software developer, or just need more space for media and backups, external SSDs are the future-proof way to keep your Mac Mini running at peak performance.
💡 Need Expert Help?
At MyMac Computer, we’re here to help you choose the perfect SSD, set it up, and make sure it integrates seamlessly with your workflow. Contact us today to get started!